When to Replace a Climbing Harness (and How Long One Lasts)
A harness looks fine for years, which is exactly why people forget it is ageing. It is life-support gear made of webbing and thread, and it wears out at a few predictable spots. Here is what the makers say about lifespan, where to look, and when to let it go. Your harness's own instructions always come first.
Get the weekly climbing briefing
One curated email a week with the climbing news, sends and gear worth your time.
Free. Weekly. Unsubscribe anytime.
How long does a climbing harness last?
There are two limits, and the one you hit first counts. The first is age. Webbing slowly loses strength even when it is never used, so makers set a maximum lifespan for textile gear. Petzl gives up to ten years from the date of manufacture. Black Diamond says to retire a harness after ten years even if it was stored properly. CAMP's instructions for its textile products give ten years from first use and no more than twelve from manufacture. The manufacturing date is on the label inside your harness.
The second limit is use, and for anyone who climbs regularly it comes much sooner. Black Diamond's rough guide for a harness in normal use is about three years, depending on how often you climb and what you put it through. Falls, abrasion, heat, sunlight and chemicals all shorten that. So a harness is never good for ten years just because the label allows it. Ten years is the ceiling, not the plan.
Where a harness wears out first
A harness rarely wears evenly. Most of the damage gathers in a few places, and those are the ones to check.
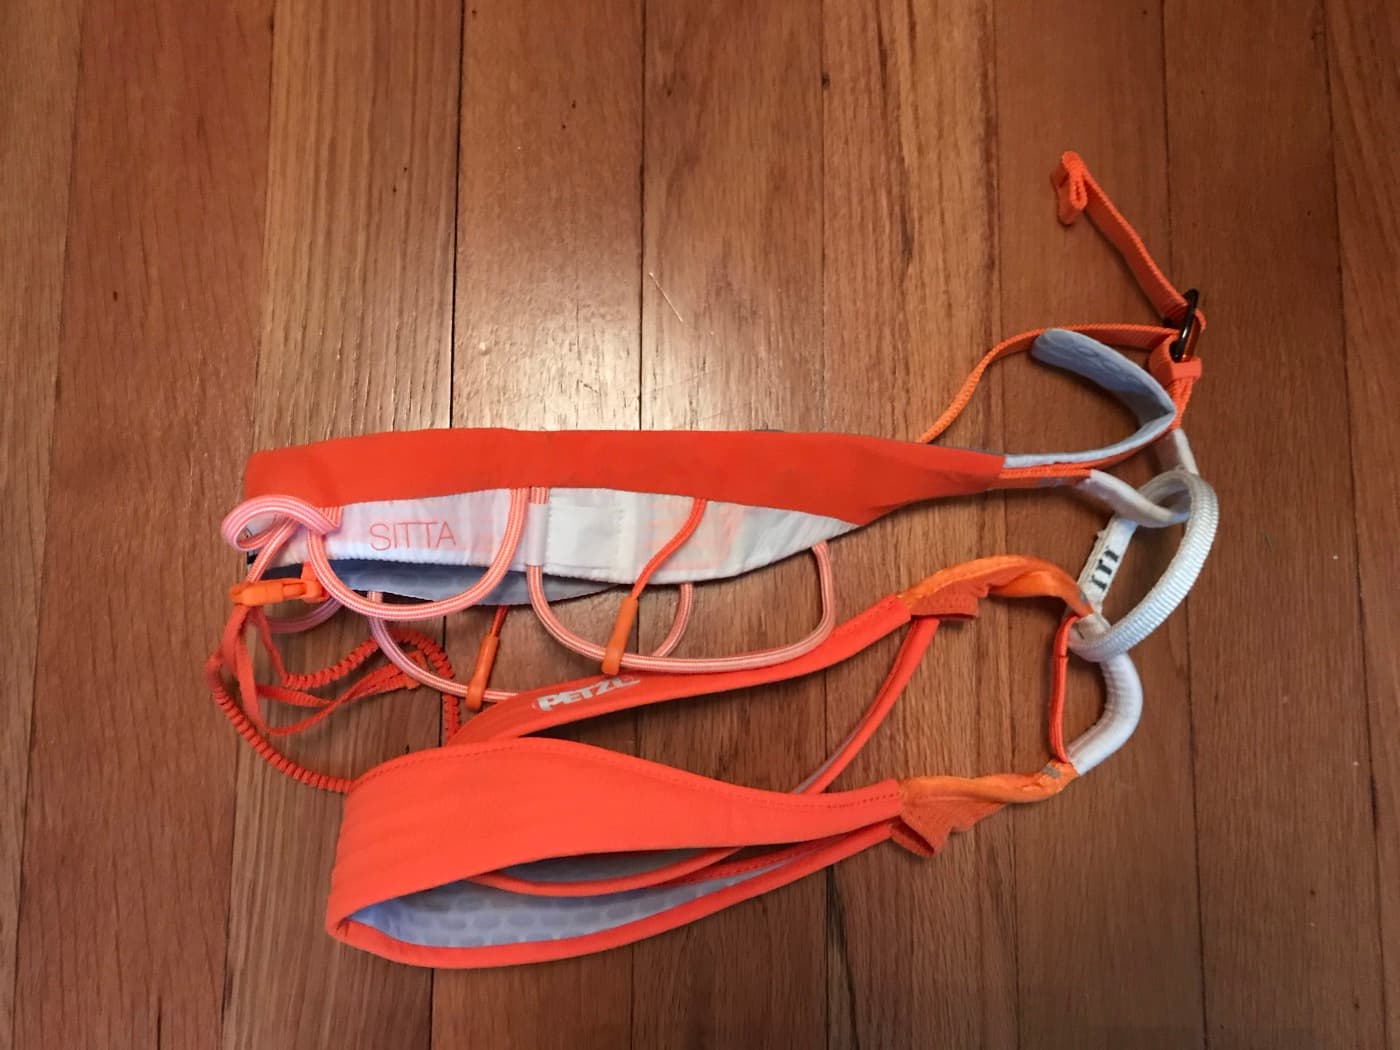
- The belay loop. Your belay carabiner rubs against it every time you belay, so it usually shows wear first. Look for fuzzy, thinned or discoloured webbing and any cut threads.
- The tie-in points. The rope runs through the upper and lower tie-in points every time you tie in, and lowering adds friction on top. Some harnesses have a red wear indicator here. Once you can see the red, retire the harness.
- Webbing and stitching on the waist belt and leg loops. Look for cuts, burns, stiff or glazed patches, and stitches that are pulled, worn or broken. Stitching is often a different colour from the webbing, which makes damage easier to spot.
- Buckles. Check that they are not cracked, bent or corroded, and that the webbing still runs through them the way the instructions show.
- Gear loops. They are only for carrying gear and are not built to hold a person, so never clip into them to rest or belay. A broken gear loop does not make the harness unsafe on its own, but it is a good moment to check the rest.
How much does wear matter? Black Diamond's quality lab once pulled worn belay loops apart to find out, and called the results unofficial. Loops that were heavily abraded but not cut still held well above the 15 kN a new belay loop must hold. A loop that had been cut about three quarters of the way through broke at around 13 kN, below that standard. Fuzz is normal wear. Cuts are where the strength goes.
Retire it now if
- The belay loop or a tie-in point is cut, badly worn, or shows a red wear indicator.
- Any webbing is burned, melted, cut or has stitching coming apart.
- It has touched battery acid, solvents, bleach or anything you cannot identify. Chemical damage can be invisible.
- It held a severe fall or a big load and you are not sure it came through. Black Diamond says that even without visible damage, such a harness may be ready for retirement.
- It has reached the maximum age in its instructions, however good it looks.
- You do not know its full history, for example a harness you bought second hand or found in a cupboard.
- You simply have doubts. Petzl and Black Diamond both say the same thing: any doubt is a reason to retire it.
How to check your harness
Before every session, take a quick look at the belay loop and tie-in points while you put it on, and check that the buckles are done up correctly. Your partner check covers the rest. Every now and then, and at least once a year as Petzl recommends, give it a proper look in good light: run each strap through your fingers, bend the webbing to see inside the belay loop, and check every line of stitching. Do the same after anything unusual, such as a big fall or a harness that got caught on rock.
Check the carabiner you belay with too. An old steel or aluminium carabiner can wear a sharp groove where the rope runs, and a sharp edge is exactly what damages a belay loop. If you can feel a groove with your fingernail, replace the carabiner.
Make it last longer
- Store it somewhere cool, dry and dark, away from sunlight and from anything chemical. The boot of a car near the battery is the classic mistake.
- Do not leave it in a hot car or out in the sun between sessions. Heat and UV weaken webbing over time.
- If it is dirty or sweaty, wash it by hand in lukewarm water with a mild soap, rinse it well and let it dry away from radiators and direct sun. Check your harness's instructions first.
- Keep it apart from sharp gear in your bag, and do not drag it over rough ground.
Second-hand harnesses
A used harness looks like a bargain, but you cannot see what it has been through: how it was stored, what it touched, which falls it held. Petzl lists an unknown usage history as a reason to retire gear outright. Unless you know and trust its whole history, treat a second-hand harness as retired. A new entry-level harness costs far less than the risk.
When in doubt, replace it
A harness is cheap compared to what it protects. If it is worn, damaged, old, or you cannot vouch for its history, replace it. This guide is general information and not a substitute for your harness manufacturer's instructions or qualified in-person advice, and your gear decisions are your own responsibility. The same thinking applies to your rope, see when to retire a climbing rope, and to your shoes, see when to resole climbing shoes. For the full kit list, see the climbing gear checklist, and get climbing news and stories every week from the Climbers Delight newsletter.
Enjoyed this guide? Get the weekly briefing.
One curated email a week with the climbing news, sends and gear worth your time.
Free. Weekly. Unsubscribe anytime.